Developing assignments with the assignment toolbar
Note: As you are developing your assignments, you should save them into the source/{assignment_id}/ folder of the nbgrader hierarchy, where assignment_id is the name of the assignment you are creating (e.g. “Problem Set 1”).
See also
- How to structure course files
- More details on how the nbgrader hierarchy is structured.
Before you can begin developing assignments, you will need to actually install the nbgrader toolbar. If you do not have it installed, please first follow the instructions here. Once the toolbar has been installed, you should see it in the drop down “Cell toolbar” menu:

Selecting the “Create Assignment” toolbar will create a separate toolbar for each cell which by default will be a dropdown menu with the “-” item selected. For markdown cells, there are two additional options to choose from, either “Manually graded answer” or “Read-only”:

For code cells, there are four options to choose from, including “Manually graded answer”, “Autograded answer”, “Autograder tests”, and “Read-only”:

The following sections go into detail about the different cell types, and show cells that are taken from a complete example of an assignment generated with the nbgrader toolbar extension:
“Manually graded answer” cells
If you select the “Manually graded answer” option (available for both markdown and code cells), the nbgrader extension will mark that cell as a cell that contains an answer that must be manually graded by a human grader. Here is an example of a manually graded answer cell:
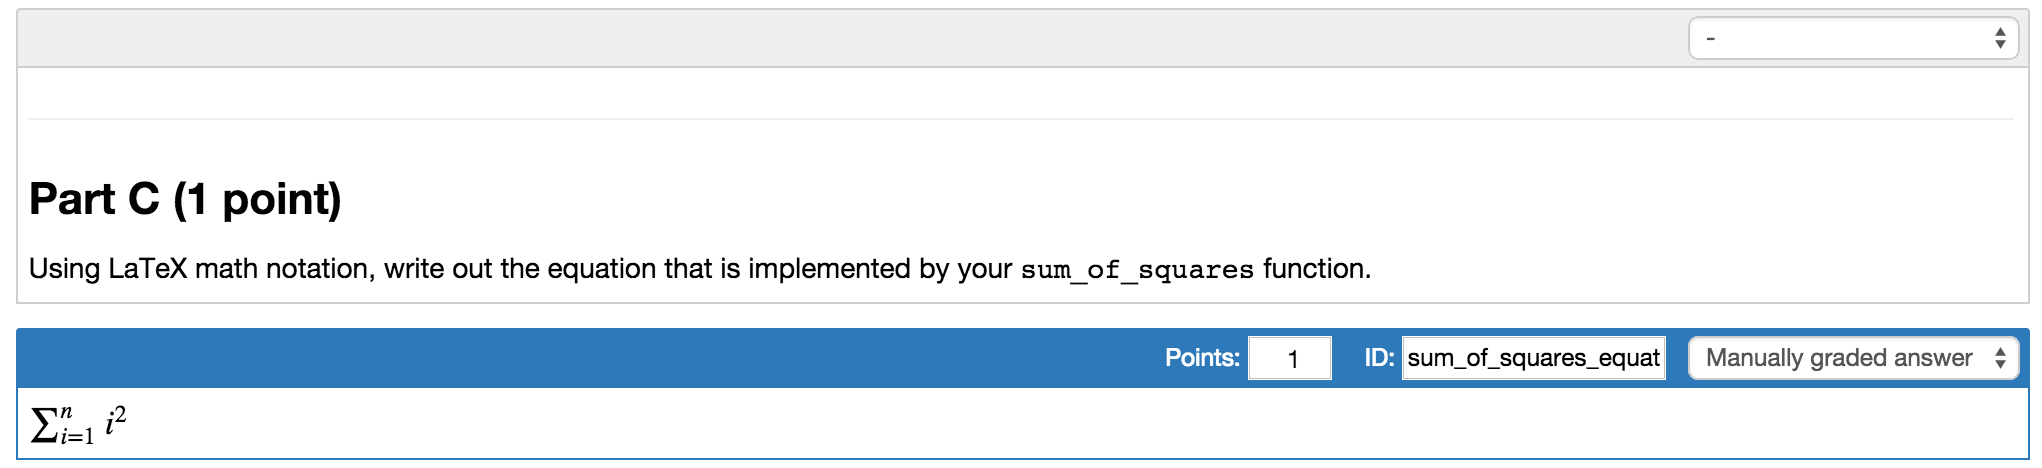
The most common use case for this type of cell is for written free-response answers (for example, which interpret the results of code that may have been written and/or executed above).
When you specify a manually graded answer, you must additionally tell nbgrader how many points the answer is worth, and an id for the cell Additionally, when creating the release version of the assignment, the bodies of answer cells will be replaced with a code or text stub indicating to the students that they should put their answer or solution there.
Note: the blue border only shows up when the nbgrader extension toolbar is active; it will not be visible to students.
“Autograded answer” cells
If you select the “Autograded answer” option (available only for code cells), the nbgrader extension will mark that cell as a cell that contains an answer which will be autograded. Here is an example of an autograded graded answer cell:
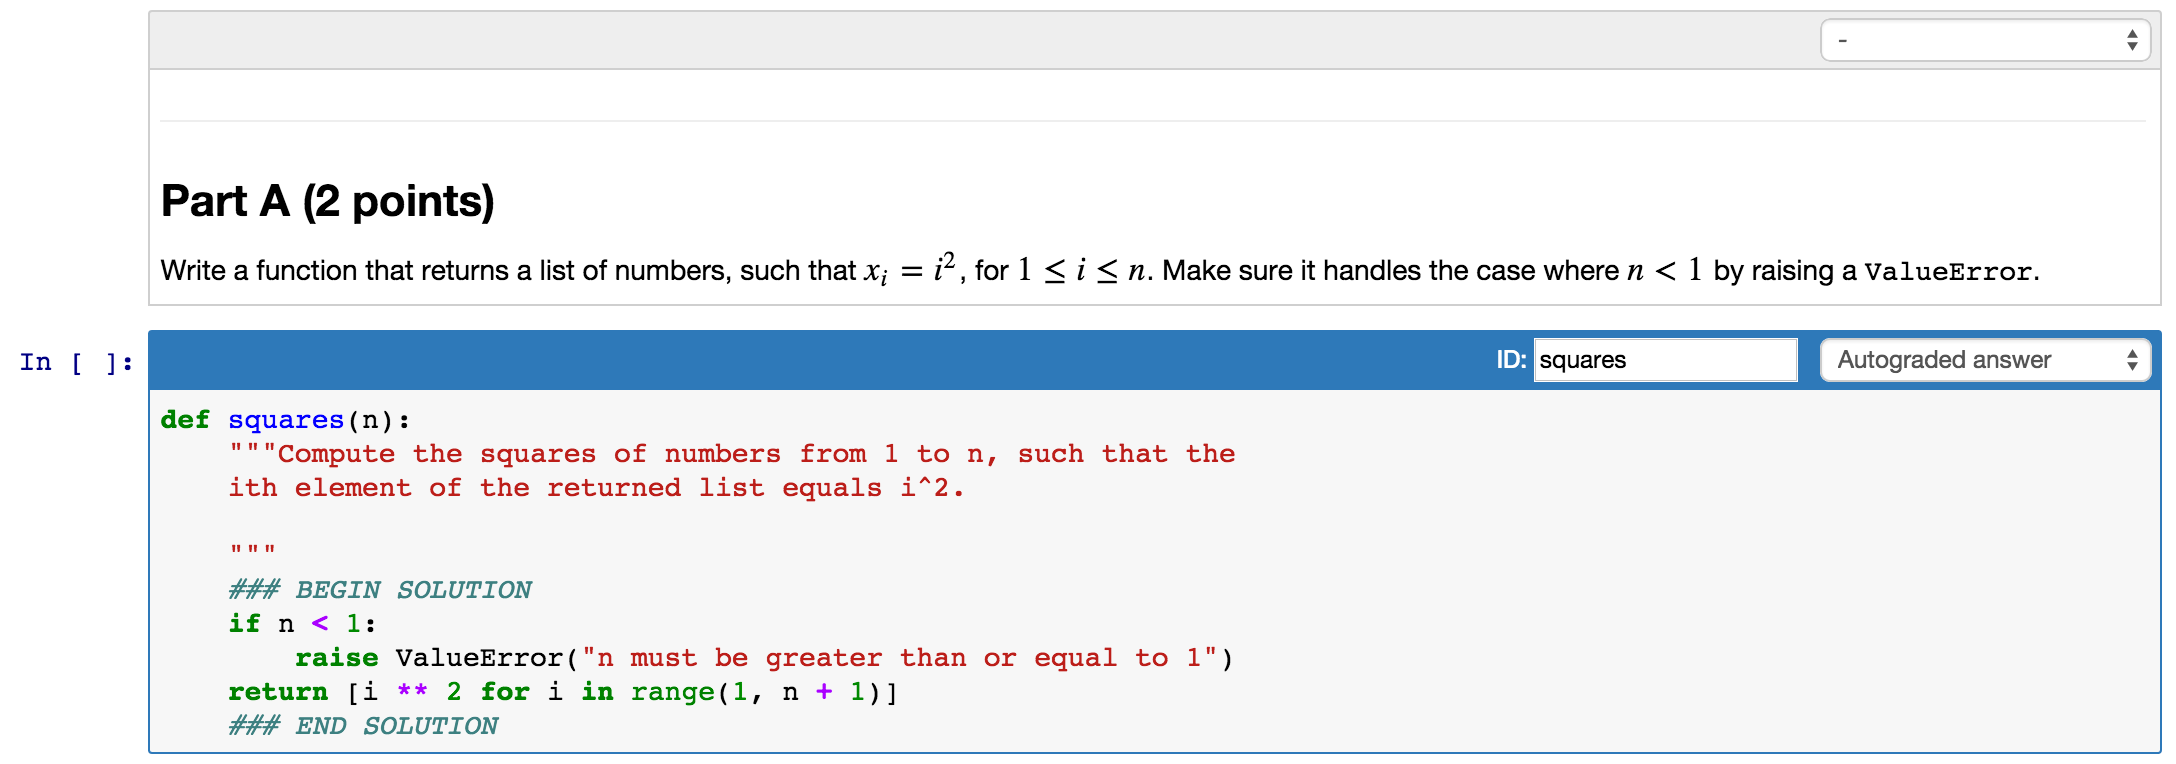
As shown in the image above, solutions can be specified inline, through the use of a special syntax such as ### BEGIN SOLUTION and ### END SOLUTION.
When creating the release version, the region between the special syntax lines will be replaced with a code stub.
If this special syntax is not used, then the entire contents of the cell will be replaced with the code stub.
Unlike manually graded answers, autograded answers aren’t worth any points: instead, the points for autograded answers are specified for the particular tests that grade those answers. See the next section for further details.
Note: the blue border only shows up when the nbgrader extension toolbar is active; it will not be visible to students.
“Autograder tests” cells
If you select the “Autograder tests” option (available only for code cells), the nbgrader extension will mark that cell as a cell that contains tests to be run during autograding. Here is an example of two test cells:
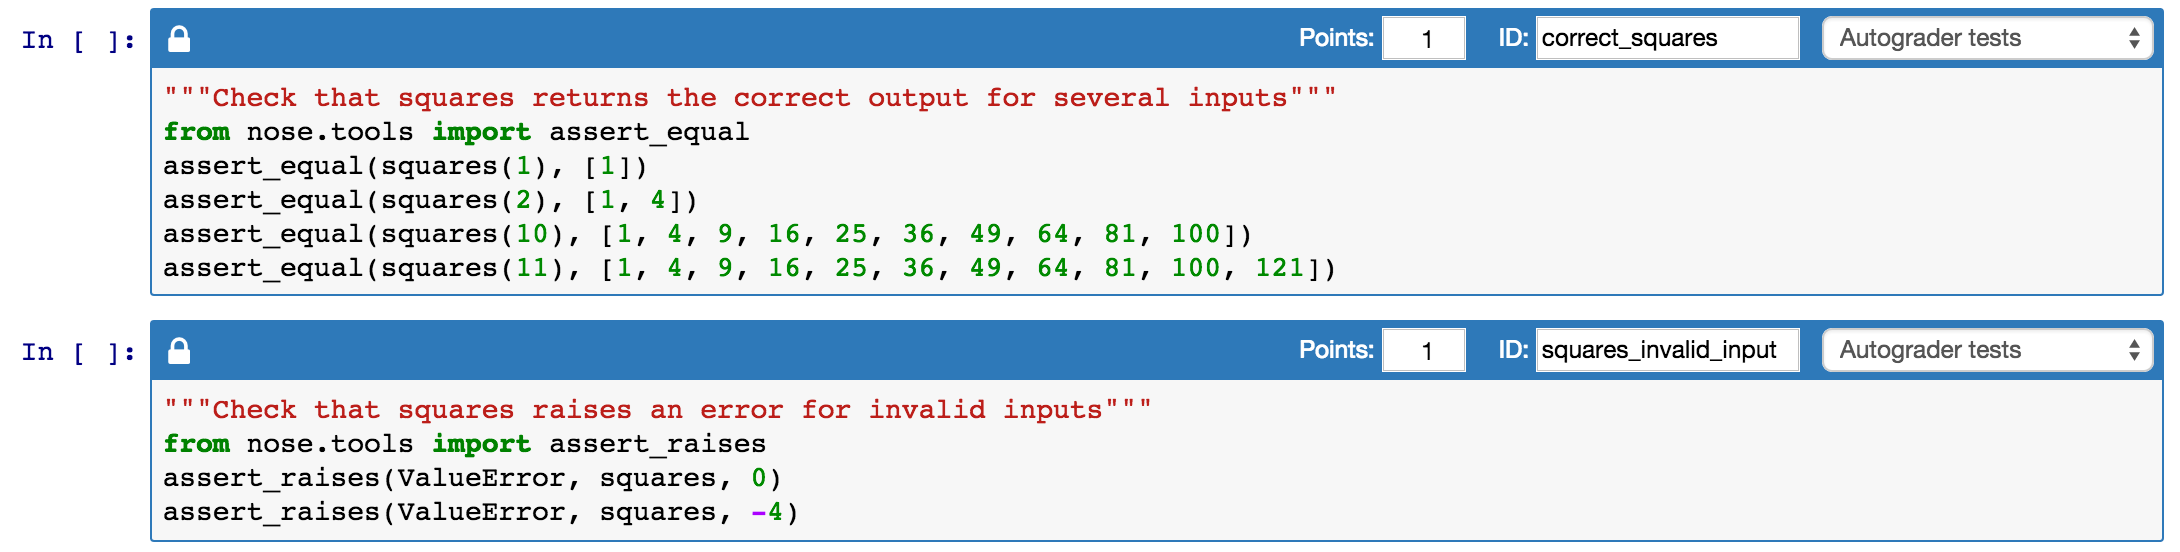
Test cells should contain assert statements (or similar).
When run through nbgrader autograde, the cell will pass if no errors are raised, and fail otherwise.
You must specify the number of points that each test cell is worth; then, if the tests pass during autograding, students will receive the specified number of points, and otherwise will receive zero points.
The lock icon on the left side of the cell toolbar indicates that the tests are “read-only”. See the next section for further details on what this means.
For tips on writing autograder tests, see Writing good autograder tests.
Note: the blue border only shows up when the nbgrader extension toolbar is active; it will not be visible to students.
“Read-only” cells
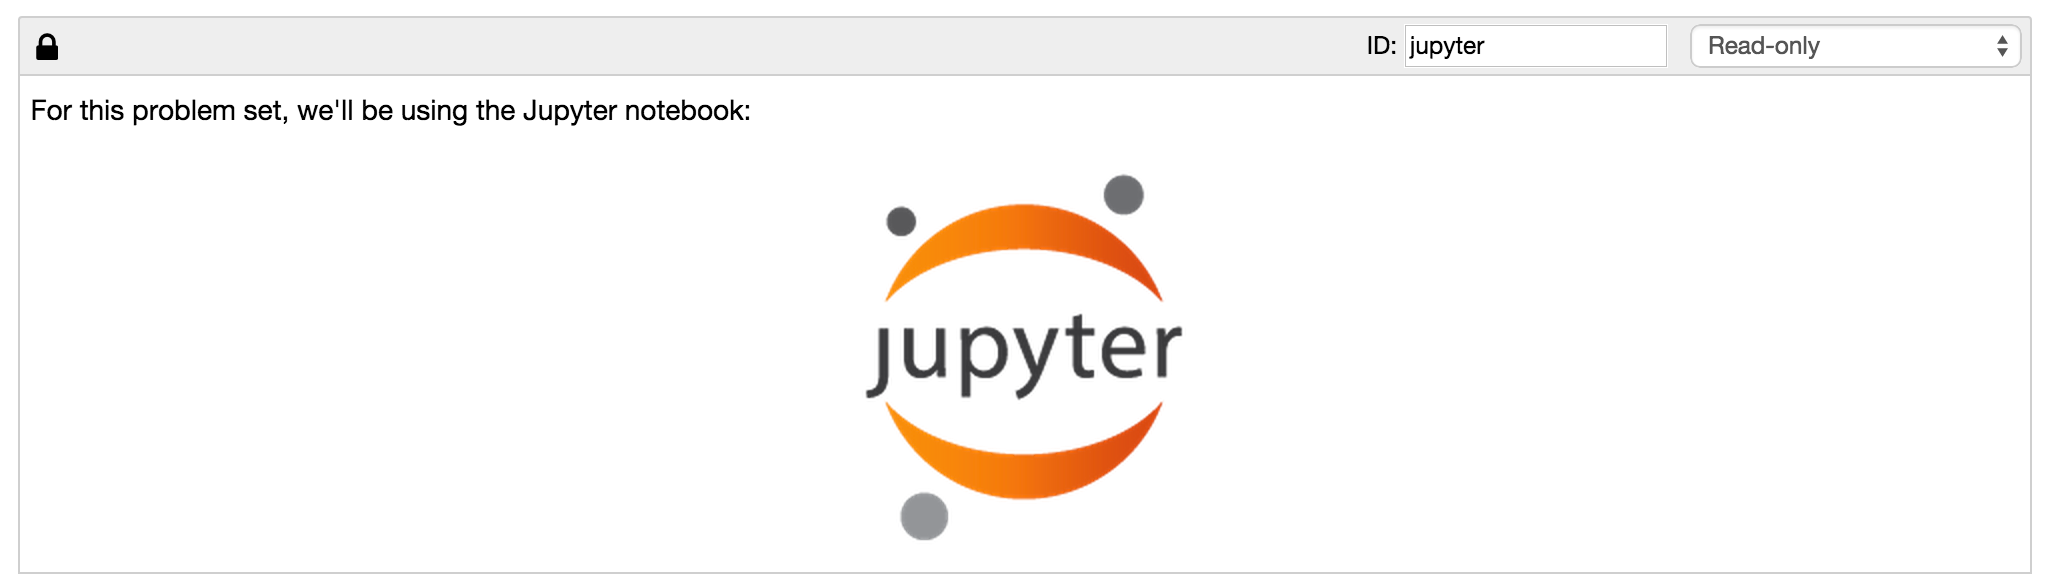
If you select the “Read-only” option (available for both code and markdown cells), the nbgrader extension will mark that cell as one that cannot be modified. This is indicated by a lock icon on the left side of the cell toolbar:
However, this doesn’t actually mean that it is truly read-only when opened in the notebook. Instead, what is means is that during the nbgrader assign step, the source of these cells will be recorded into the database. Then, during the nbgrader autograde step, nbgrader will check whether the source of the student’s version of the cell has changed. If it has, it will replace the cell’s source with the version in the database, thus effectively overwriting any changes the student made.
This functionality is particularly important for test cells, which are always marked as read-only. Because the mechanism for autograding is that students receive full credit if the tests pass, an easy way to get around this would be to simply delete or comment out the tests. This read-only functionality will reverse any such changes made by the student.
Writing good autograder tests
Most problems can be autograded. Problems that involve writing fruitful functions can be graded more easily than others. These types of problems can be graded by writing test functions that compare output values. Instructors should make sure that all edge cases are captured when creating test cases. Problems that require writing void functions are harder to autograde and may involve checking stdout, depending on the nature of the problem. Currently, the recommended approach to grading plots is to grade them manually.
Tips for writing good test cases
Test each function/feature in isolation. If a problem contains many functions or parts, write cases that test each of these functions individually. Testing one function at a time makes it easier for you to track an error.
Organize test cases consistently. It can be helpful to arrange and group your test cases with comments.
Try to cover all edge cases. If you have a function that can take in a certain range of inputs, test the boundaries of this range. Test cases should also check for different lengths, different cases of strings, integers and floats, or different ranges when applicable.
Example
Problem: Write a function isAnagram() that takes 2 strings, and returns True if the two given strings are anagrams of each other. Your function should ignore cases, spaces, and all punctuation. So your function should identify “HeLLo!” and “hOlle” as anagrams.
Test cases:
from nose.tools import assert_equal

# standard True cases
assert_equal(isAnagram('hi', 'hi'), True)
assert_equal(isAnagram('pat', 'tap'), True)
assert_equal(isAnagram('left', 'felt'), True)

# ignore punctuation, spaces, and different cases (upper/lower)
assert_equal(isAnagram('hi', 'hi!'), True)
assert_equal(isAnagram('HI', 'hi'), True)
assert_equal(isAnagram('hi', 'HI'), True)
assert_equal(isAnagram('He llo', '?hello'), True)

# False cases
assert_equal(isAnagram('hi', 'h'), False)
assert_equal(isAnagram('apple', 'aple'), False)
assert_equal(isAnagram('aaaaaa', 'aaaa'), False)
Partially autograding, partially manually grading
When test cases are not enough to determine the correctness of a student’s solution, you can autograde them to make sure that there are no errors in the execution or the solution. You still need to manually look at the solutions to determine whether they are correct or not. This might be helpful if you want students to write a function for a problem using a specific implementation approach.
Example
Problem: Write a function sortList() that takes a list of numbers and returns a list sorted in descending order without using the built-in methods.
Test cases (but will still require instructors to check whether any built-in method is used):
from nose.tools import assert_equal
assert_equal(sortList([2, 3, 1]), [3, 2, 1])
assert_equal(sortList([3, 2, 1]), [3, 2, 1])
assert_equal(sortList([1, 2, 1, 2, 3, 1]), [3, 2, 2, 1, 1, 1])
assert_equal(sortList([-1, 0, 1]), [1, 0, -1])